Chatbots are a way to bring your flows to life and make them publicly accessible. From customer service bots providing 24/7 care to niche automation tools, you can easily deploy your Flow by embedding it into your website as a chatbot.
How to create a Chatbot
You can create a Chatbot either from the dedicated Chatbots page or directly from the Flow Builder.
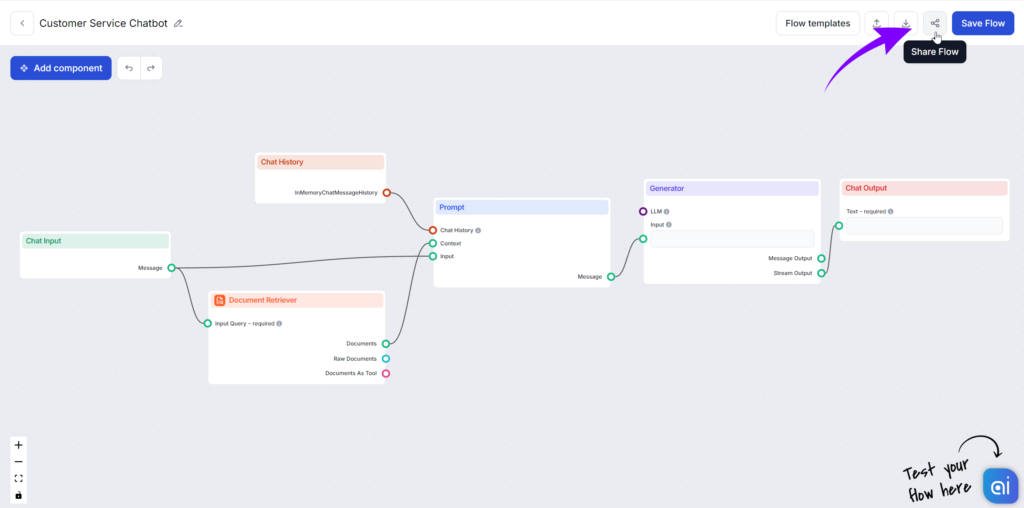
- To deploy a Chatbot from the Flow builder, make sure to save your Flow and then simply click the Share button in the top right corner:
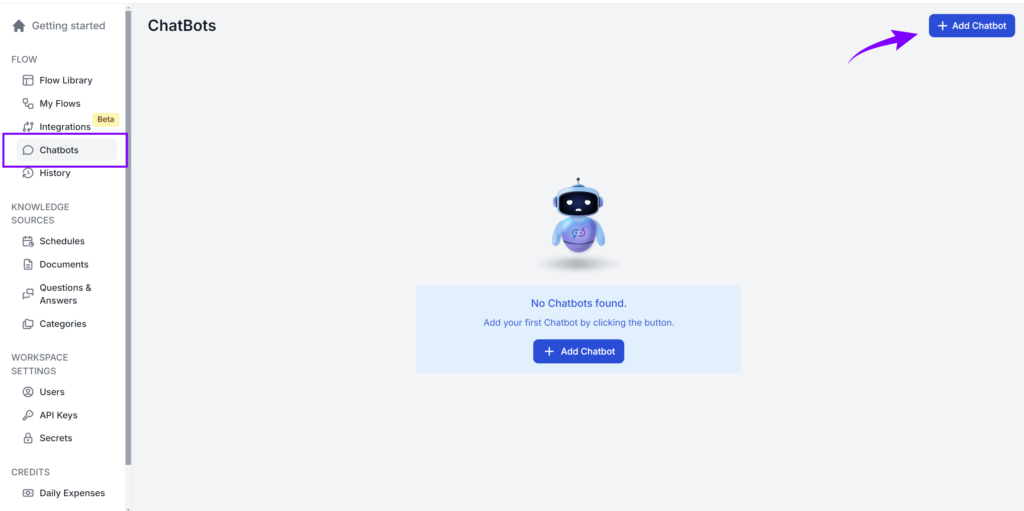
- To create a chatbot from the Chatbots screen, go to Chatbots in the main menu. Then click + Add Chatbot:
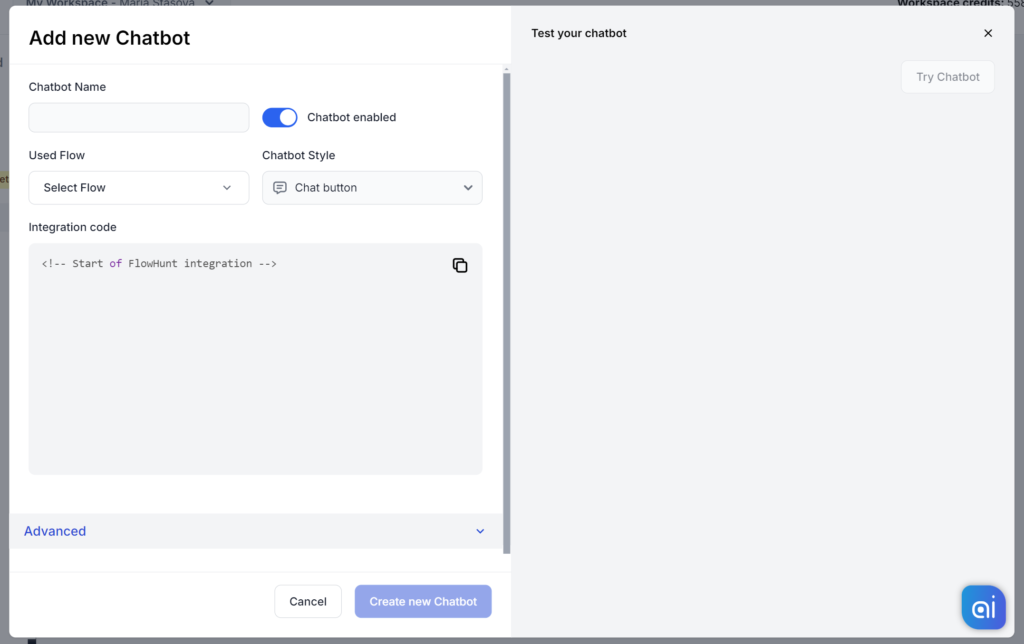
Both ways will bring up the Chatbot editor. Here, you can customize the Chatbot’s appearance, add new capabilities, and get the integration code:
Chatbot Settings
- Chatbot Name: This name is used only in your list of chatbots and is NOT public.
- Used Flow: Pick which Flow the chatbot will use (This setting is not visible when you trigger the chatbot editor via the builder).
- Chatbot Status: Disable the bot instead of having to delete the integration code from your website.
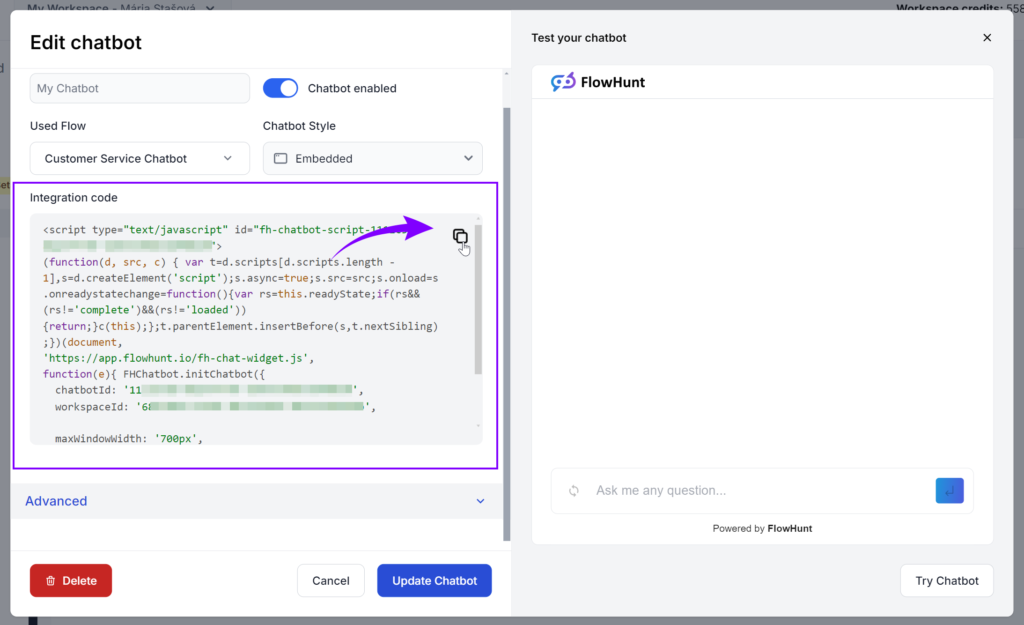
- Integration code: The code will show here once the Chatbot is done.
Chatbot style
- Chat button – Embed a simple chat button on your website. When clicked, the chat window expands:
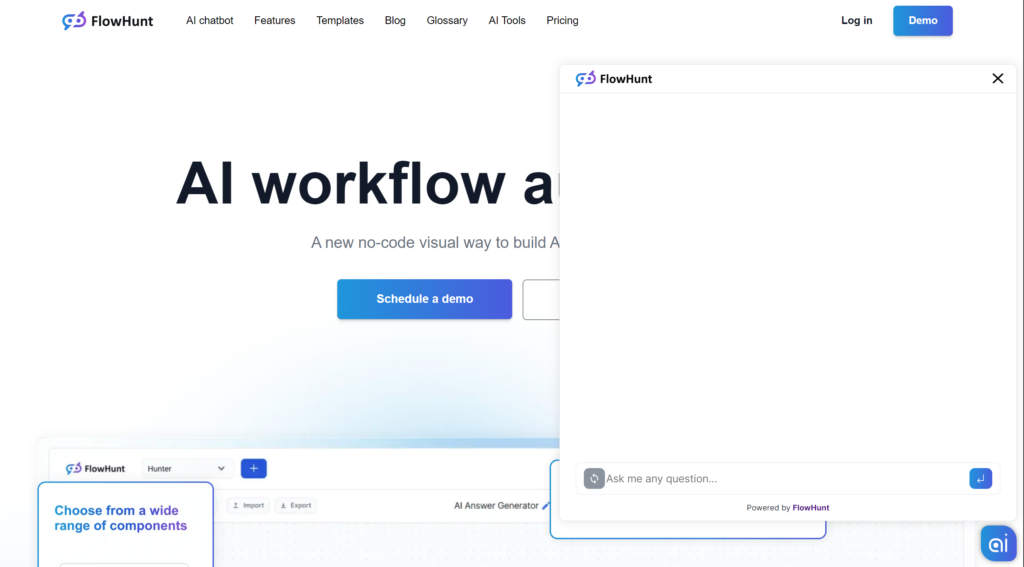
- Embedded – Embed a fully expanded chat window on your website:
Advanced settings
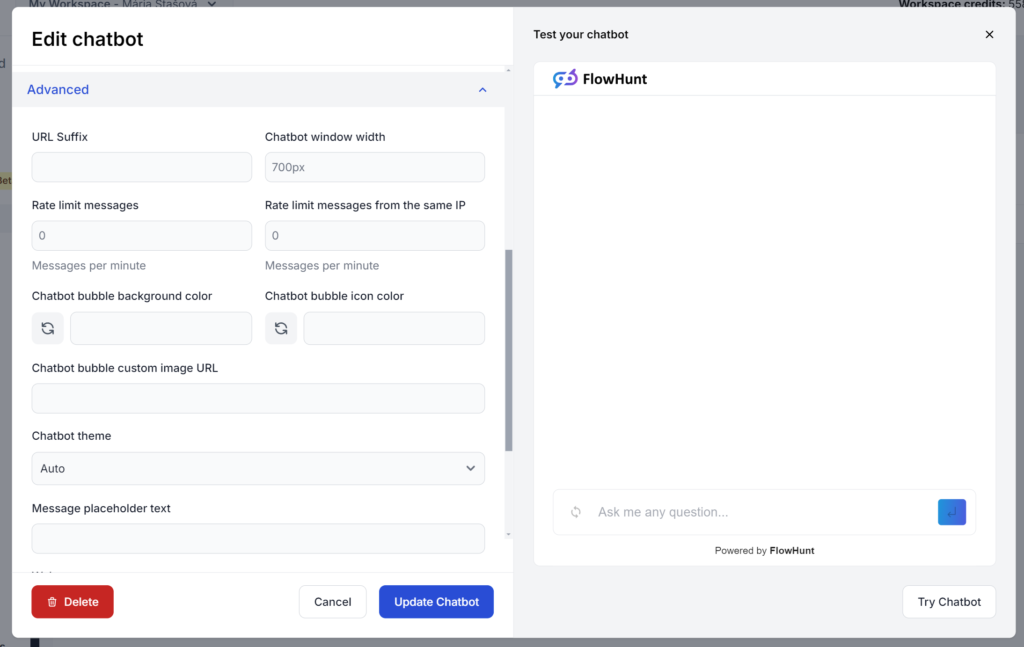
- URL Suffix: Add tracking suffixes.
- Chatbot window width: Total width of expanded chatbot window.
- Rate limit messages: Limit the total number of chatbot messages per minute, stopping attacks and ensuring malicious actors cannot misuse your public chatbot.
- Rate limit messages from the same IP: Limit the number of chatbot messages per minute per IP.
- Chatbot bubble background color: Color chatbot button bubble.
- Chatbot bubble icon color: Color of the icon in the chatbot button.
- Chatbot Buble custom image URL: Allows you to replace the chatbot button with your own image.
- Chatbot theme: Pick from available themes. Light theme is the default.
- Message placeholder text: Customize the text shown in the message field when empty. The default is “Ask me any question”
Welcome message
Welcome messages are automatic message the chatbot sends to warmly greet users, guide them on how to use the chatbot, and set expectations for the conversation—without any user interaction required.
The full-featured editor allows you to customize this message using formatting, tables, or emojis.
Frequently asked questions
You can send multiple pre-defined FAQ questions along with the welcome message. This prompts users to engage right from the start and saves them time.

How to Integrate the Chatbot to your website
The integration depends on which chatbot style you choose.
Integrating the chatbot button
Copy the integration code from the Integration code field, and paste the code into your HTML footer.
This is what the bot will look like integrated into your website:

Integrating the embedded Chatbot
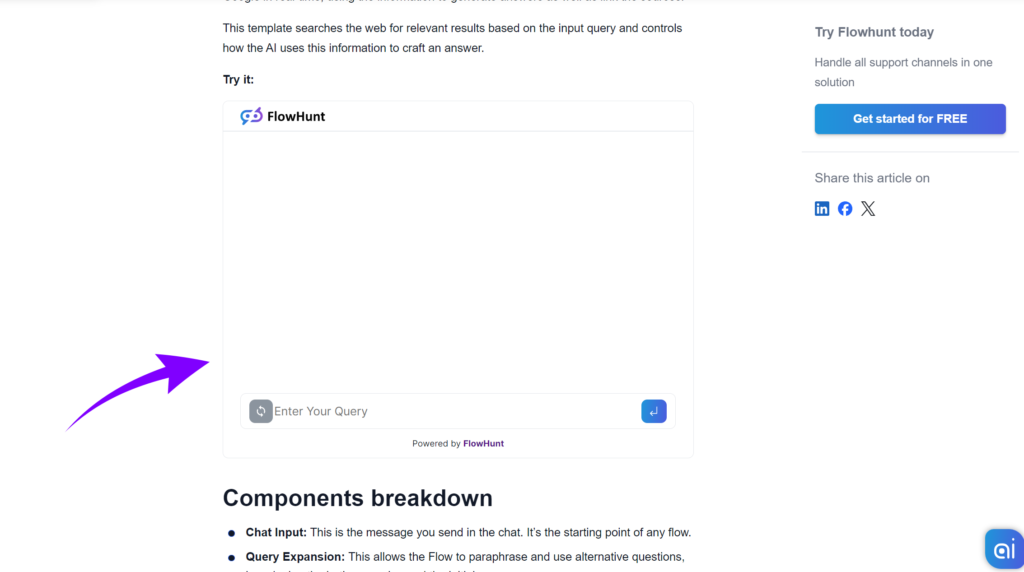
Make sure the Chatbot Style is switched to Embedded. Copy the integration code from the Integration code field, and paste the script into the body of your page as a custom HTML element:

This is what the embedded chatbot looks like:

FAQ
What is the difference between Flows and Chatbots?
The Flow is the brain and logic behind your Chatbot. The Chatbot is simply the outer layer, an interface allowing you to interact with Flows in human language.
Do I need to delete the integration code to remove the Chatbot from my website?
If your bot malfunctions or you need to make some changes, you don’t need to delete the whole code from your website. All you have to do is disable the Chatbot. This hides the Chatbot from your website. You can change it to enabled anytime.
Why should I rate-limit messages?
Whether you choose to do this depends on your use case. Rate-limiting is a security measure that caps the number of requests (chat messages) a user can make per minute. This prevents DDoS attacks and other malicious activity.
What’s the chatbot welcome message?
Welcome messages are automatic message the chatbot sends to warmly greet users, guide them on how to use the chatbot, and set expectations for the conversation—without any user interaction required.
How do I integrate the Chatbot?
You will find the integration code in the chatbot editor. Based on the chatbot style you’ve chosen, either paste the chatbot button code into your HTML footer or paste the embedding code into any part of your website content.
Frequently Asked Questions
What is the difference between Flows and Chatbots?
The Flow is the brain and logic behind your Chatbot. The Chatbot is simply the outer layer, an interface allowing you to interact with Flows in human language.
Do I need to delete the integration code to remove the Chatbot from my website?
If your bot malfunctions or you need to make some changes, you don’t need to delete the whole code from your website. All you have to do is disable the Chatbot. This hides the Chatbot from your website. You can change it to enabled anytime.
Why should I rate-limit messages?
Whether you choose to do this depends on your use case. Rate-limiting is a security measure that caps the number of requests (chat messages) a user can make per minute. This prevents DDoS attacks and other malicious activity.


